Technology - Latest News

Showing posts with label Rubiks_Cube. Show all posts

Solve the Rubik's Cube: Stage 6

Solve the final layer


Holding the cube


Hold the Rubik’s Cube as shown, now twist the top face until at least 2 corners are in the right location as A, B or A, D or B, C as shown below. If all 4 corners are in the right place you can proceed to the 2nd step.


1st Step: Position yellow corners correctly

While holding your Rubik’s Cube as shown above, look at the top face. Place the 2 correct corners in the back A, B or diagonally A, D or B, C across from each other.


If corners A and B are in the right place then to switch C and D, do the sequence below:

web

web


If you need to switch diagonal corners like B and C or D and A, then do the sequence once. Then, orient the Cube so the 2 correct corners are in the back and do the sequence again.


2nd Step: Position yellow edges correctly


If 1 edge is correct and 3 edges are incorrect orient the Rubik’s Cube so the face with the correct edge is the back face. Then determine if the edge pieces need to move clockwise or counter-clockwise and do the correct sequence below.

If all 4 edges are incorrect, then do either sequence below once, and then determine what direction the three edge pieces need to move and do the correct sequence below.


To cycle EFG Clockwise or EFGH Clockwise:


To cycle EFG Counter-Clockwise or EFGH Counter-Clockwise:


πŸŽ‰πŸŽ‰πŸŽ‰ Congratulations - You just solved a Rubik's Cube!


<<<Prev   Instructions

Solve the Rubik's Cube: Stage 5

SOLVE THE TOP FACE


Holding your cube:

1) Matching the yellow pattern on the top face of your Rubik’s Cube to one of the yellow patterns shown on the Cubes below.

2) Then follow the correct sequence.


Tips:

- Yellow edge pieces on the top face do NOT need to match on the side pieces…yet!


1st Step: Make a yellow cross:


2nd Step:
Make all the corners yellow

Now look at the top face of the Rubik’s Cube and match your face to one of the states below:


State 1

If no corner Cubes are yellow on the top face, you must have yellow left corner or left face as shown.

State 2

If one corner Cube is yellow match your top face as shown and do the sequence below.

State 3

If any two corner Cubes are yellow don’t worry about their position. You MUST match the front face with a yellow left corner as shown Do this sequence 1, 2 or 3 times to achieve a complete yellow top face. After each sequence, orient the Rubik’s Cube to REMATCH the top face to the appropriate state and repeat the sequence until all the corners are yellow.


If your Rubik’s Cube looks like this picture above then you can move to Stage 6!


<<<Prev     Next>>>

Solve the Rubik's Cube: Stage 4

Solve The Middle Layer


Holding your Cube


With the completed white layer on the bottom now you have to solve the middle layer, which means positioning the ‘edge pieces’ in the correct place.


Tips

- Notice the vertical row of blue (this could be red, orange, green) - THIS IS CRITICAL!


- Create a vertical line by rotating the top face until the front color of the edge piece on the top face without yellow on it matches a side center piece. The color on the edge piece’s top face will determine the direction the edge piece should move.


1) If you’re moving the edge piece in the same direction as indicated in the picture, then follow the sequence of moves pictures below:


2) If you’re moving the edge piece in the same direction as indicated in the picture, then follow the sequence of moves pictured below:


Continue these steps until all the edge pieces are in the correct position. NOTE: If one of the edge pieces is already in the middle row, but in the wrong position, then do either one of the sequential moves and it will move to the top layer. Then you can do the appropriate sequential moves to position it in the correct location of the middle layer.


If your bottom two layers look like this picture, you can move to Stage 5. You are two-thirds of the way done!


<<<Prev     Next>>>

Solve the Rubik's Cube: Stage 3

Solve The White Corners


Holding your Cube

With the white cross in the top face, you must solve the white corner pieces. As indicated in this picture:


Tips:


- Corner pieces will have one white side plus 2 other colours.

- If the corner piece is already on the bottom face, then rotate the bottom until the corner is directly below its intended location. Once in that position, your Rubik’s Cube may look like any one of the three pictures on the right. Then, do the sequence below 1X, 2X or 3X or UNTIL it is in the correct position.


- Repeat this process for all four corners.- If the corner is on the top face of the Cube, move it to the bottom face by doing:


If the white layer of your Cube looks like the picture here, you have completed one-third of the Rubik’s Cube and you can now move to Stage 4!


<<<Prev     Next>>>

Solve the Rubik's Cube: Stage 2

Solve The White Cross


Holding your Cube


Holding your Rubik’s Cube with the white centerpiece on the top face, you must create a white cross as shown. Much of this level is achieved with practice and by trial and error… but we do have some tips.


Tips
- Be sure to solve the sections of the white cross in the following order - blue, orange, green, red
- Notice the EDGE PIECE COLORS above match the top white centerpiece and the side red and blue centerpieces. This is how we know the edge pieces are in the correct positions.
- Keeping the white centerpiece on top, move the blue/white edge piece to the bottom face, then rotate it on the bottom until it is directly under the blue centerpiece. Now hold your Rubik’s Cube so the blue centerpiece and blue/white edge piece are on the right face. Rotate the right face until the blue/white edge piece is on the top face and above the blue centerpiece:


- If your Rubik’s Cube looks like this, hold your Cube so the orange centerpiece is on the right face and start solving the side with the orange centerpiece the same way as stated above.


- If your Rubik’s Cube looks like this, do the sequence below making sure the blue centerpiece is on the right face:


If your Rubik’s Cube has a white cross that looks like this picture, you can move to Stage 3!


<<<Prev     Next>>>

Solve the Rubik's Cube: Stage 1

Definitions of Rubik's cube pieces


Edge Pieces

Pieces with two colors. There are twelve edge pieces located in the middle rows.


Corner Pieces

Pieces with three colors. There are eight corner pieces located on the corners.


Centre Pieces

Pieces with once color. There are six center pieces located in the center of each side, center pieces DO NOT MOVE and represent the color of their side.


Center piece colors are always opposite each other:

White is opposite yellow

Orange is opposite red

Green is opposite blue


Each side of the cube is represented by a letter:
The letter with an “i” after it means an inverted or counter-clockwise move when looking at that face directly.


Very important

When making the moves above hold your Rubik’s Cube full-face front with the logo on top as shown. Dark grey on the pictures means that the color does not matter. Each move is a 1/4 turn rotation.


Introduction     Next>>>

Rubik's Cube

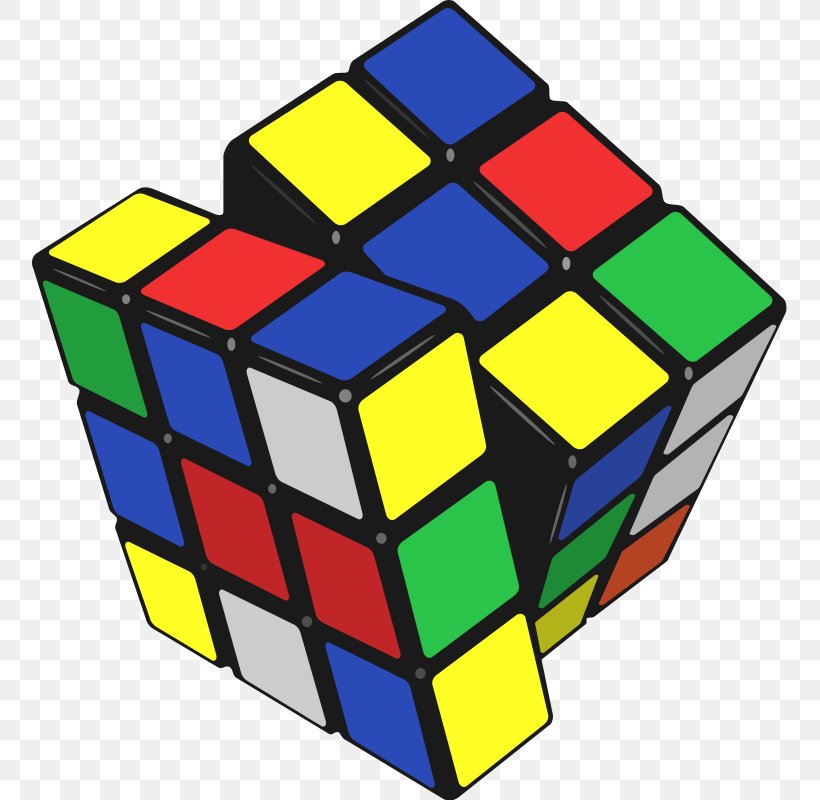
Rubiks Cube Clip Art, PNG, 755x800px, Rubiks Cube, Cube, Ernu0151 ...

Rubik's Cube is a 3-D combination puzzle invented in 1974 by Hungarian sculptor and professor of architecture ErnΕ‘ Rubik. Originally called the Magic Cube, the puzzle was licensed by Rubik to be sold by Ideal Toy Corp. in 1980 via businessman Tibor Laczi and Seven Towns founder Tom Kremer.

It took Erno Rubik (the inventor of the Rubik’s Cube) one month to learn how to do a Rubik’s Cube. Some people started thinking about how to complete the Rubik’s Cube back in the 80’s, and in 40 years have got little further than one side. If you want to learn how to solve the Rubik’s Cube, look no further, you have come to the right place!


Getting help with solving the Rubik’s Cube is not cheating. There are 42 Quintillion possibilities, but only one correct solution. Hence without knowing how to solve a Rubik’s Cube it is nearly impossible.


This guide on how to do the Rubik’s Cube will take about 45 minutes to learn, but once you have you can impress all your friends with how you can solve one of life’s great mysteries. πŸ˜„


Click on the steps below to begin the tutorial:

-: Another Information about Rubik's Cube :-

Other names: Magic Cube, Speed Cube, Puzzle Cube, Cube
Inventor: ErnΕ‘ Rubik
Company: Rubik's Brand Ltd.


Source: https://www.rubiks.com/en-us/

Start Now>>>

Search